As i look back at the videos i have done throughout the little time i have been on youtube, i can't help but to look back at my very first video. I was so nervous to be on camera, and it took a lot of courage to do it.
My first video on youtube was a Valentines Day themed nail tutorial, which is still one of my favorites by far. In this video, I showed the viewers how to transfer newspaper print onto their nail (which is one of my favorite techniques). This is one of the easiest nail designs that i have ever done, and this is probably a go to design throughout the year.
If you don't want to watch a video you can find the steps below.
But here is the video just incase you do. :)
Valentines day newspaper print and hearts nail tutorial. Step by step.
Here are the products that i used, now you don't need to have the same brands, just similar colors.

Step 1: cleanse the nail. This helps remove any dust or oils from your nail that may cause your manicure to bubble up, and we don't want that. I used Formula X nail cleaser, but you can use rubbing alcohol, nail polish remover, or even astringent.

Step 2: Use your favorite base coat. I used Formula X base coat for this design. This helps make the nail polish go on smoothly while preventing any possible staining on your nails.

These are the colors i used (up close so you can see them better). Like i said before, you don't have to have the same brands, just similar colors will work the same.

Step 3: Paint your thumb and ring finger with the light pink, and your pointer, middle and pinky finger with the white. Don't worry about cleanup until the end.

Grab a bowl and put rubbing alcohol or astringent in it.

Step 4: Put a small piece of newspaper in the bowl of rubbing alcohol or astringent for about 3 seconds. (sorry its a bit blurry)
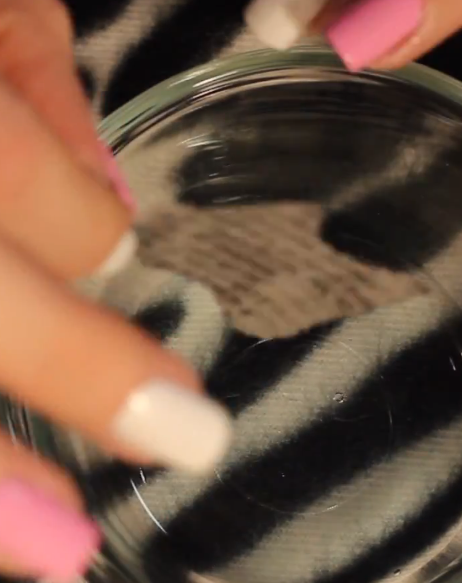
Step 5: Press the newspaper rather firmly against your white nail for about 5 seconds.

Step 6: Remove the newspaper from your nail carefully.

Repeat on all of your white nails, using a different piece of newspaper for each nail.

Step 7: take the fan brush and the pale purple (the essie one i have in the pics above) and put some on the bottom of your thumb and ring finger nail to give it a slight ombre effect.

Step 8: Take your dotting tool, some red and hot pink nail polish, and...

Draw on some cute little hearts


They don't have to be perfect, and you can do as many as you want to do.

Step 9: Take your silver glitter and draw an X on each thumb and pinky finger.


Step 10: Take some glitter and put a few dots on your middle finger nails in the center going vertically. and then take some glitter and put a dot on your pointer and pinky finger to get it ready for a gem.

Step 11: Add your gems to the pointer and pinky finger and then you are almost done.


Step 12: Apply Topcoat to seal it all in.

Here is the finished look. It is really worth the time and effort.

Thank you for reading and watching. I really hope you enjoyed it. If you remake these, be sure to let me know and i can share it with my other viewers (if you want me to). I would love to start a monthly blog about my readers and viewers. You all are awesome. Remember to stay beautiful and to keep practicing and painting on. :)


0 comments:
Post a Comment